


Last updated: October 8, 2026
Introduction
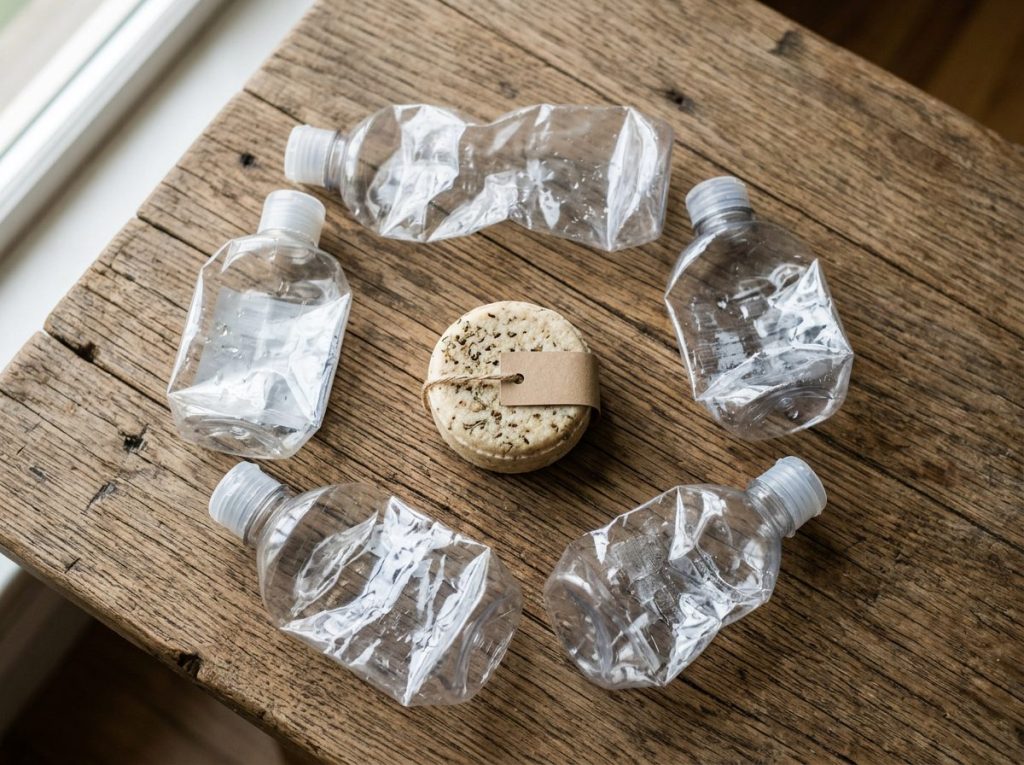
You bought a shampoo bar to reduce plastic waste and save money. But within two weeks, it’s a mushy, dissolving mess in your shower. Sound familiar?
Improper storage is the #1 reason shampoo bars don’t last as long as they should. A well-stored bar can last 60-80 washes (2-4 months). A poorly-stored bar might dissolve in half that time—wasting money and undermining the sustainability benefits.
This guide covers:
- Why proper storage matters (bacteria, lifespan, cost)
- 7 storage methods (ranked by effectiveness)
- Biggest mistakes that ruin shampoo bars
- Travel storage solutions
- How to dry and cure your bar between uses
Let’s make sure your shampoo bar lasts as long as possible.
—
Why Proper Storage Matters
1. Extends Lifespan (Saves Money)
A dry shampoo bar dissolves 50-70% slower than a wet one left in standing water.
Math:
- Poorly stored bar: Lasts 30-40 washes (dissolves quickly, costs €0.20 per wash)
- Well-stored bar: Lasts 60-80 washes (dries fully, costs €0.10 per wash)
Proper storage effectively doubles the value of each bar.
2. Prevents Bacterial Growth
Wet environments breed bacteria and mold. A constantly-wet shampoo bar sitting in a soap dish can become a bacterial breeding ground—especially in humid bathrooms.
Signs of bacterial growth:
- Slimy surface texture
- Foul smell (not the bar’s original scent)
- Discoloration or dark spots
- Mushy, falling-apart texture
Prevention: Let your bar dry completely between uses (at least 4-6 hours).
3. Maintains Performance
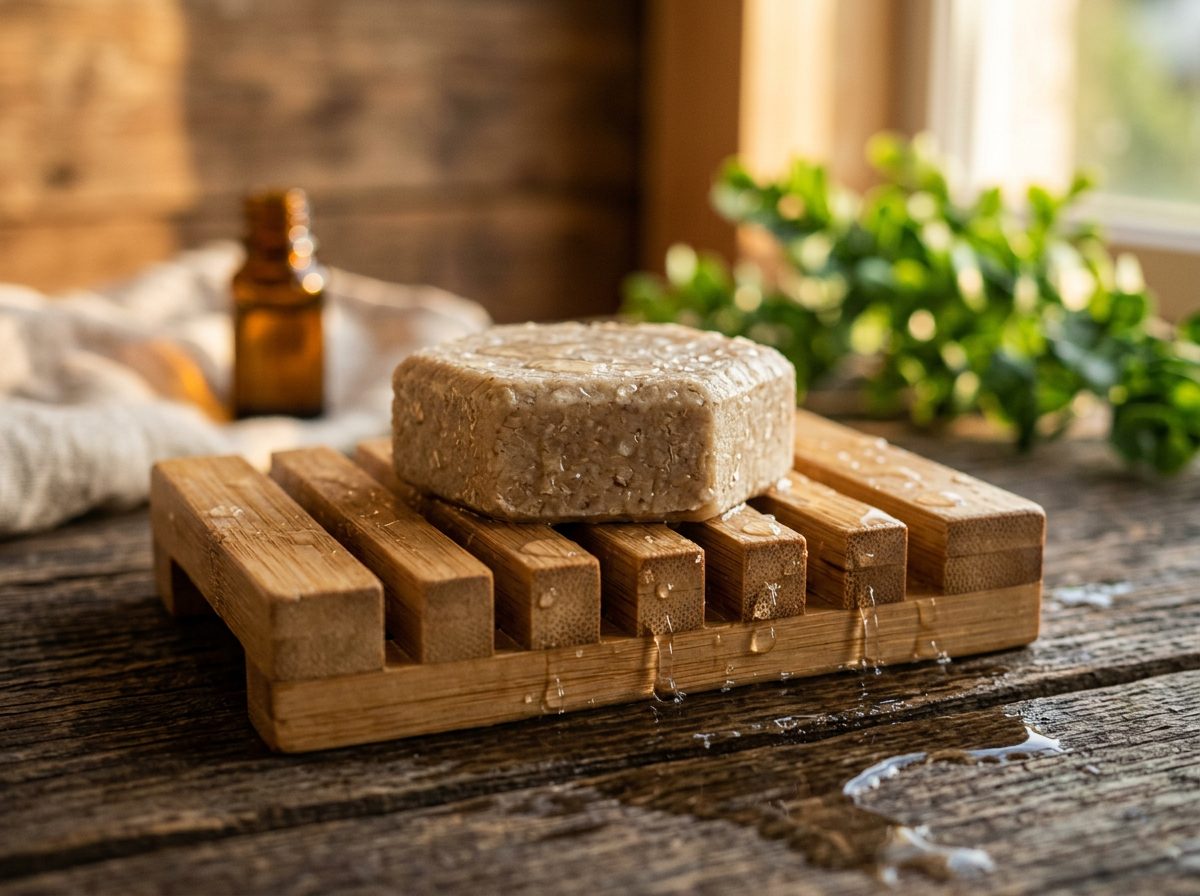
A soggy bar:
- Lathers poorly (you use more product per wash)
- Falls apart in your hands
- Leaves residue in hair
- Loses active ingredients as they dissolve away
A dry, well-stored bar:
- Lathers richly with less product
- Stays firm and easy to handle
- Delivers consistent results
—
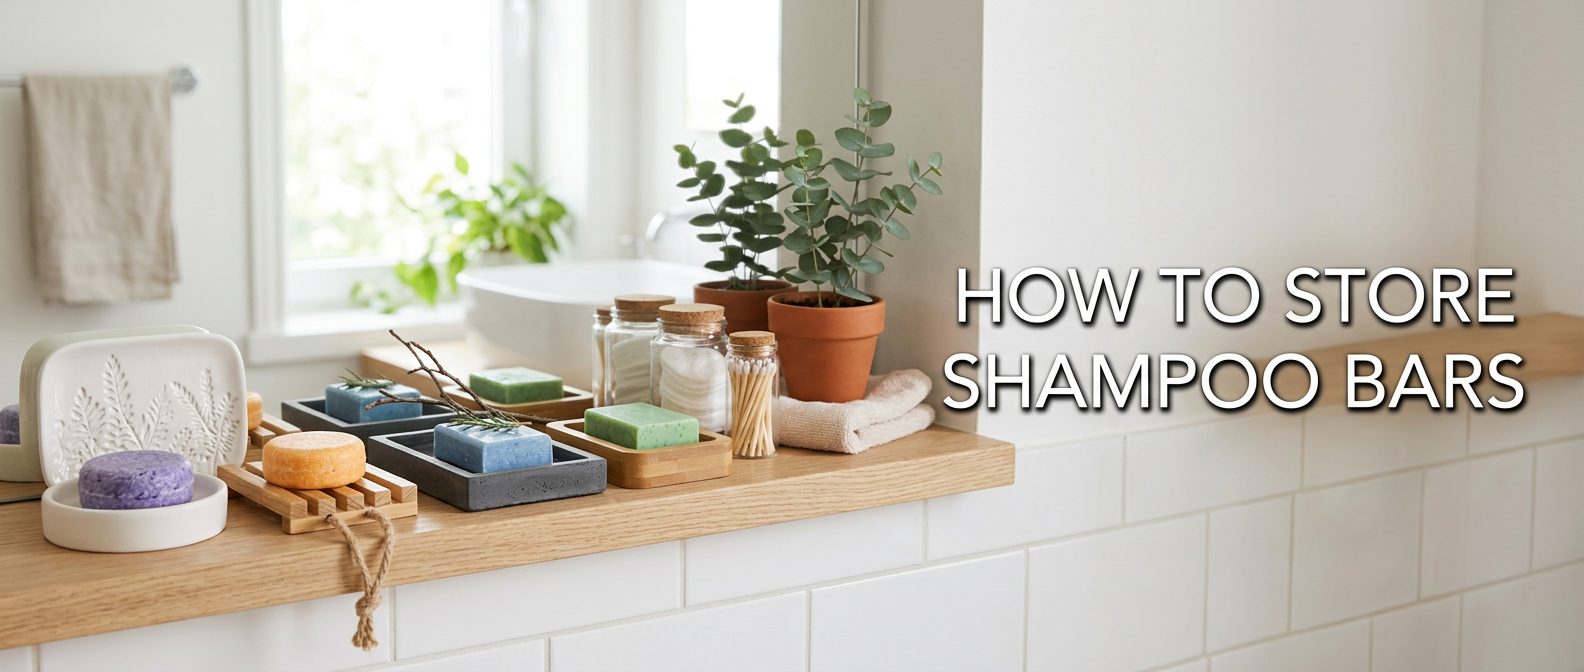
How to Store Shampoo Bars: 7 Best Ways Ranked
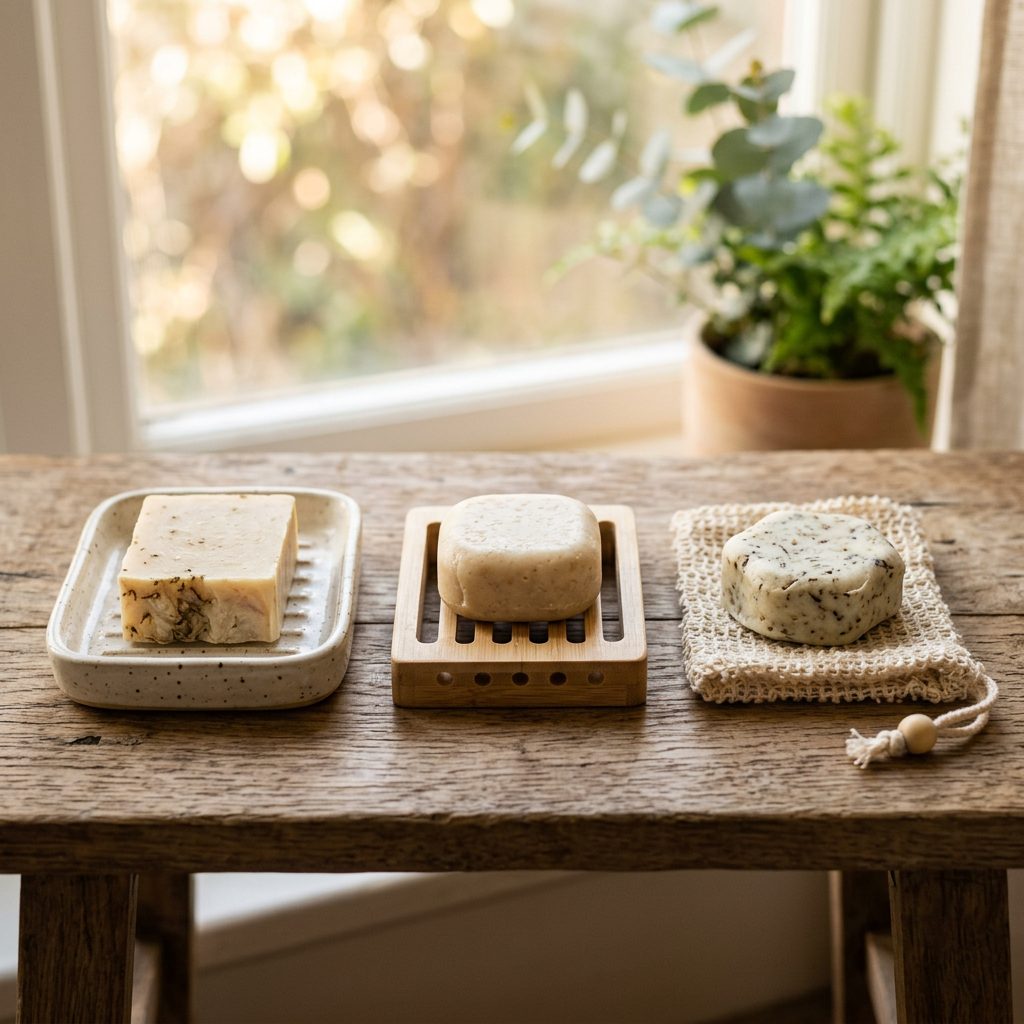
1. Elevated Soap Dish with Drainage (Best Overall)
How it works: Bar sits on ridges or spikes, allowing water to drain completely underneath. Air circulates on all sides.
Examples:
- Wooden soap dish with slats
- Silicone dish with drainage spikes
- Bamboo soap holder with raised edges
- Stainless steel wire soap tray
Pros:
✅ Excellent airflow on all sides
✅ Water drains away completely
✅ Affordable ($5-15)
✅ Widely available
✅ Works for multiple bars
Cons:
❌ Requires regular cleaning (water residue under dish)
❌ Takes up counter/shelf space
Best for: Daily use at home (shower, sink)
Material recommendations:
- Bamboo/wood: Looks great, eco-friendly, but requires maintenance (wash & dry weekly to prevent mold)
- Silicone with spikes: Low-maintenance, dishwasher-safe, long-lasting
- Stainless steel: Durable, rust-proof, modern look
Pro tip: Place dish on a small towel or washcloth to absorb drainage water. Wash weekly.
—
2. Magnetic Soap Holder (Most Innovative)
How it works: A small metal disc embeds in your bar. A magnetic wall mount holds the bar suspended in mid-air, allowing 360° airflow.
Examples:
- Wellow Magnetic Soap Holder
- Grab Green Magnetic Soap Saver
Pros:
✅ Maximum airflow (bar dries fastest)
✅ Zero contact with surfaces (most hygienic)
✅ Sleek, modern look
✅ Space-saving
✅ Fun to use
Cons:
❌ More expensive ($15-25)
❌ Requires embedding disc into bar (slightly wasteful)
❌ Limited to one bar per mount
❌ Metal disc may rust over time
Best for: Minimalist bathrooms, people who want fastest drying, tech-forward users
How to use:
1. Press metal disc into dry bar (center, about halfway in)
2. Mount magnetic holder on shower wall (adhesive or suction)
3. Attach bar to magnet after each use
Pro tip: Let bar dry for 24 hours before inserting disc (ensures firm hold).
—
3. Soap Bag/Pouch (Best for Travel + Exfoliation)
How it works: Bar goes inside a drawstring mesh bag (sisal, cotton, or hemp). Bag allows water to drain while providing grip and exfoliation.
Examples:
- Sisal soap bag
- Hemp exfoliating pouch
- Cotton mesh bag
Pros:
✅ Doubles as exfoliating washcloth
✅ Holds bar securely (no slipping)
✅ Collects small pieces as bar wears down
✅ Perfect for travel (wet bag can hang to dry)
✅ Very affordable ($3-8)
✅ Machine-washable (most types)
Cons:
❌ Bar dries slower than elevated dish (fabric retains moisture)
❌ Bag itself needs to be washed and dried regularly
❌ May develop mildew if not dried properly
Best for: Travel, exfoliation, people with small shower spaces, using up small bar fragments
Material recommendations:
- Sisal (agave fiber): Most exfoliating, dries fastest, durable
- Hemp: Eco-friendly, naturally antimicrobial, moderate exfoliation
- Cotton: Softest, best for sensitive skin, dries slowest
Pro tip: Buy 2-3 bags so you can rotate them (one in use, one drying, one clean backup).
—
4. Wall-Mounted Soap Holder (Space-Saving)
How it works: Adhesive or suction-mounted shelf/dish attaches to shower wall. Bar rests on dish with drainage.
Examples:
- Suction soap dish
- Adhesive wall shelf
- Shower caddy with drainage holes
Pros:
✅ Saves counter/tub space
✅ Keeps bar off wet surfaces
✅ Affordable ($8-20)
✅ Easy to install
Cons:
❌ Adhesive may fail in humid conditions
❌ Suction cups lose grip over time
❌ Limited weight capacity (avoid overloading)
❌ Still requires good drainage
Best for: Small bathrooms, renters (no drilling), people who prefer bars within reach in shower
Pro tip: Choose holders with open drainage (holes, slats) rather than solid dishes. Clean adhesive/suction area monthly to maintain grip.
—
5. Soap Saver Pad (Budget-Friendly)
How it works: Flat, textured mat (silicone, loofah, or plastic) sits under bar. Allows water to drain through perforations.
Examples:
- Silicone soap saver pad
- Loofah soap rest
- Recycled plastic soap mat
Pros:
✅ Very affordable ($2-5)
✅ Works on any flat surface
✅ Easy to clean
✅ Can accommodate multiple bars
Cons:
❌ Less airflow than elevated dishes (bottom of bar stays wetter)
❌ Requires regular cleaning (water pools underneath)
❌ Bar may stick to pad if left too long
Best for: Budget-conscious users, travel (folds flat), temporary solution
Material recommendations:
- Silicone: Durable, dishwasher-safe, long-lasting
- Loofah: Natural, compostable, but wears out faster
- Recycled plastic: Eco-friendly, but may crack over time
Pro tip: Lift bar off pad after every few uses to prevent sticking. Rinse pad weekly.
—
6. Hanging Soap Holder with Rope (Traditional)
How it works: Bar sits in a small mesh or wire cage suspended by a rope. Hangs from showerhead or hook.
Examples:
- Soap on a Rope holder
- Hanging wire soap basket
Pros:
✅ Excellent airflow (bar hangs freely)
✅ Keeps bar off all surfaces
✅ Easy to grab in shower
✅ Affordable ($5-12)
Cons:
❌ Takes up vertical space (may hit your face in small showers)
❌ Rope can mildew if not dried
❌ Not ideal for multiple bars
Best for: Large showers, people who prefer hanging storage, camping/outdoor showers
Pro tip: Use a cotton rope (machine-washable) or stainless steel chain (rust-proof). Dry rope weekly.
—
7. Simple Dry Surface (Minimalist Approach)
How it works: Bar rests on a dry towel, washcloth, or corner of bathroom counter (away from water).
Pros:
✅ Zero cost
✅ Works anywhere
✅ Can dry bar quickly if towel is changed regularly
Cons:
❌ Bar may stick to fabric
❌ Requires frequent towel changes
❌ No drainage (towel absorbs water but stays damp)
❌ Not practical for shower use
Best for: Emergency storage, drying new bars before first use, backup method
Pro tip: Place bar on a clean, dry washcloth on a countertop outside the shower (lower humidity). Change washcloth every 2-3 days.
—
Biggest Mistakes in How to Store Shampoo Bars
1. Leaving Bar in Direct Shower Spray
The problem: Constant water exposure dissolves bar even when you’re not using it.
The fix: Move bar to a dry spot immediately after use—not at the end of your shower. Every extra minute under water = wasted product.
Better: Store bar on elevated dish on shower shelf, away from spray.
2. Storing Bar in a Closed Container While Wet
The problem: Trapping moisture creates a swampy environment = bacteria + mold + mushiness.
Examples of bad containers:
- Plastic soap box with lid (closed)
- Tin container with lid (closed)
- Ziplock bag
The fix: If using a container, it MUST have drainage holes and stay open until bar is completely dry (4-6 hours).
Travel exception: Closed containers are okay for short trips (1-2 days) if bar is completely dry before packing.
3. Sharing a Soap Dish with Another Wet Bar
The problem: Two wet bars touching each other = both dissolve faster. They can even fuse together.
The fix: Use separate dishes, or use a divided soap dish with drainage.
4. Never Cleaning Storage Dish
The problem: Soap scum, mineral deposits, and bacteria build up under your bar.
The fix: Clean your soap dish weekly:
1. Remove bar
2. Wash dish with hot water + vinegar (or dish soap)
3. Scrub drainage holes to remove buildup
4. Dry completely before replacing bar
5. Storing Bar in Humid Bathroom (Without Ventilation)
The problem: High humidity slows drying, even with good storage. Bars stay tacky and dissolve faster.
The fix:
- Option 1: Run exhaust fan for 10-15 minutes after shower
- Option 2: Store bar outside bathroom (in bedroom, closet, etc.) in open container
- Option 3: Use a dehumidifier in bathroom
Test your bathroom: If mirror stays fogged for >20 minutes after shower, humidity is too high.
6. Using Bar Before It’s Fully Dry
The problem: Using a partially-wet bar from yesterday’s shower = faster dissolving.
The fix: Let bar dry at least 4-6 hours between uses. If you shower twice daily, use two bars (rotate them).
7. Cutting Bar Too Early
The problem: Cutting a brand-new bar into smaller pieces exposes more surface area to water = faster dissolving.
The fix: Use full bar first. Cut into halves when bar is halfway gone (easier to store smaller pieces, same total lifespan).
—
How to Dry and Store Shampoo Bars Properly
Ideal Drying Time: 4-6 Hours
A shampoo bar needs at least 4-6 hours to dry completely between uses. Overnight drying (8-12 hours) is even better.
Signs your bar is dry:
- Hard, firm texture (not soft/pliable)
- Matte surface (not shiny/wet-looking)
- No water drips when lifted
Signs your bar is still wet:
- Soft or slightly squishy
- Glossy/shiny surface
- Leaves water marks when moved
Fast-Drying Tips
If you shower twice a day or need to pack your bar for travel:
1. Pat dry with towel immediately after use (removes surface water)
2. Place near airflow (window, fan, dehumidifier)
3. Use a hair dryer on cool setting for 1-2 minutes (extreme cases only)
4. Buy two bars and rotate (one in use, one drying)
Curing New Bars (Before First Use)
Why: Many handmade shampoo bars benefit from a 2-4 week curing period before first use. Curing hardens the bar, making it last longer.
How to cure:
1. Unwrap bar from packaging
2. Place on open shelf or rack (not in humid bathroom)
3. Leave exposed to air for 2-4 weeks
4. Flip bar every few days for even drying
When curing matters most: Handmade, artisan bars (Natural Answer, Ethique, Lush). Commercial bars (HiBAR, Kitsch) are pre-cured.
—
Travel: How to Store Shampoo Bars on the Move
For Short Trips (1-3 Days)
Option 1: Tin Container
- Let bar dry completely before packing (24 hours minimum)
- Pack in tin with small ventilation holes (poke with nail if solid)
- Open tin as soon as you arrive to let bar air out
Option 2: Soap Bag
- Wet bag is okay for 1-2 days if it can hang to dry in hotel
- Rinse bag after each use
Option 3: Wrapped in Towel
- Wrap dry bar in small towel or washcloth
- Pack in luggage (not toiletry bag—needs to breathe)
- Unwrap immediately upon arrival
For Long Trips (4+ Days)
Best method: Soap Bag + Backup Storage
1. Use bar in soap bag during trip
2. Hang bag to dry after each shower
3. Bring small backup ziplock for last-day travel (if bar is still wet)
Pro tip: Pack bar in center of luggage (cushioned by clothes) to prevent breaking.
Air Travel (TSA-Approved)
Good news: Shampoo bars are TSA-compliant! No liquid restrictions.
How to pack:
- Carry-on: Tin container or soap bag (must be dry)
- Checked luggage: Any method (but protect from crushing)
Airport tip: If TSA questions your bar, explain it’s solid shampoo (not liquid). It’s allowed.
—
Storage by Bar Type
Natural/Handmade Bars (Higher Oil Content)
Examples: Natural Answer, Ethique, Unwrapped Life
Special needs: Higher oil content = softer texture = needs better drainage
Best storage:
- Elevated dish with excellent drainage
- Magnetic holder (fastest drying)
- Soap bag (if you shower infrequently)
Avoid: Flat pads, closed containers, humid areas
Commercial Bars (Harder, Pre-Cured)
Examples: HiBAR, Kitsch, Garnier
Special needs: Harder texture = more forgiving, but still needs drainage
Best storage:
- Any elevated dish
- Soap saver pad (adequate for harder bars)
Avoid: Leaving in standing water
Syndet Bars (Synthetic Detergent Bars)
Examples: Most drugstore shampoo bars
Special needs: Dissolve faster than natural bars if left wet
Best storage:
- Elevated dish (essential)
- Magnetic holder
Avoid: Sharing dish with other bars
—
How to Store Shampoo Bars When You Have Several
If you use different bars (one for hair, one for body, one for face):
Method 1: Multi-Section Soap Dish
Buy a soap dish with dividers (2-3 sections). Each bar gets its own compartment with drainage.
Pros: One dish for all bars, organized
Cons: Takes up more space
Method 2: Individual Dishes
Give each bar its own small dish.
Pros: Prevents cross-contamination, flexible placement
Cons: More dishes to clean
Method 3: Stackable Soap Holders
Use vertical stackable holders (Etsy, Amazon).
Pros: Saves horizontal space
Cons: Drainage from top bar may drip onto lower bars (place shampoo on top)
Method 4: Dedicated Locations
- Shampoo bar: Shower shelf (elevated dish)
- Body bar: Tub edge (soap bag)
- Face bar: Sink counter (magnetic holder)
Pros: Bars dry in separate environments, reduces confusion
Cons: Requires space in multiple locations
—
Extending Shampoo Bar Lifespan: Advanced Tips
1. Cut Bar in Half (Midway Through Use)
Once your bar is halfway gone:
1. Cut it in half with a knife
2. Store unused half in dry location (outside bathroom)
3. Use first half until completely gone
4. Switch to second half
Why it works: Smaller pieces are easier to store and handle. No waste when bar gets too small.
2. Use a Soap Sponge or Loofah
Instead of rubbing bar directly on hair:
1. Wet bar
2. Rub bar onto soap sponge or loofah (creates lather)
3. Apply lather to hair
4. Set bar aside to dry (you use less product per wash)
Why it works: Reduces bar-to-water contact time, extends lifespan by 20-30%.
3. Store in Lower-Humidity Room
If possible, keep your shampoo bar in:
- Bedroom (on dresser)
- Linen closet
- Kitchen
Bring bar to bathroom only when showering. Return immediately after.
Why it works: Lower ambient humidity = faster drying = longer lifespan.
4. Alternate Between Two Bars
Buy two bars:
- Week 1: Use Bar A (Bar B dries/cures)
- Week 2: Use Bar B (Bar A dries/cures)
Why it works: Each bar gets 1-2 weeks to fully dry and harden between uses. Lifespan nearly doubles.
—
How Long Should a Shampoo Bar Last?
Average Lifespan by Storage Method
| Storage Method | Washes | Months | Cost Per Wash (€8 bar) |
|—|—|—|—|
| Excellent (Elevated dish, magnetic holder) | 60-80 | 2-4 | €0.10-€0.13 |
| Good (Soap bag, wall holder) | 50-60 | 2-3 | €0.13-€0.16 |
| Okay (Soap pad, dry towel) | 40-50 | 1.5-2 | €0.16-€0.20 |
| Poor (Standing water, no drainage) | 20-30 | 1 | €0.27-€0.40 |
Factors that affect lifespan:
- Hair length (longer hair = more product per wash)
- Wash frequency (daily vs. 2-3x/week)
- Water hardness (hard water requires more lather = faster use)
- Storage quality (biggest factor!)
—
Signs Your Storage Method Isn’t Working
❌ Bar dissolves in <40 washes
❌ Surface feels slimy or sticky between uses
❌ Bar develops dark spots or discoloration
❌ Bar smells bad (not the original scent)
❌ Bar breaks apart easily
❌ Lather quality decreases over time
If you notice any of these: Your storage method needs improvement. Switch to elevated dish with drainage or magnetic holder.
—
FAQs: Shampoo Bar Storage
Can I store a shampoo bar in the shower?
Yes—if you use an elevated dish with drainage placed away from direct water spray. Never leave bar sitting in standing water or under the showerhead.
Should I cover my shampoo bar between uses?
No (for home use). Bars need airflow to dry. Covering traps moisture, leading to mushiness and bacteria.
Exception: Travel (cover only after bar is completely dry).
How do I store a wet shampoo bar when traveling?
Short-term (1-2 days): Pack in wet soap bag, hang to dry at destination.
Last-day travel: If bar is still wet, wrap in washcloth or pack in ventilated tin. Unwrap as soon as possible.
Never: Pack wet bar in sealed plastic bag for more than 24 hours (mold risk).
Can I store shampoo bars in the fridge?
Not necessary (and not recommended). Refrigeration doesn’t improve lifespan and can cause condensation when removed, making bar wetter.
Only refrigerate if: You live in extremely hot climate (30°C+) and bar is melting. Even then, airtight container is needed to prevent odor absorption.
How do I clean a soap dish for shampoo bars?
Weekly cleaning:
1. Remove bar
2. Rinse dish under hot water
3. Scrub with vinegar or dish soap (use brush for drainage holes)
4. Rinse thoroughly
5. Dry completely before returning bar
Deep clean (monthly): Soak dish in vinegar water (1:1 ratio) for 15 minutes, then scrub.
My bar is stuck to the soap dish. How do I remove it?
Method 1: Run warm water over dish for 30 seconds. Gently wiggle bar free.
Method 2: Slide a butter knife under bar to break seal.
Prevention: Let bar dry completely between uses, clean dish weekly, use elevated dish (not flat pad).
Can I store shampoo bars and body soap bars together?
Yes—if they have separate drainage sections. Bars should not touch each other while wet.
Better: Use individual dishes for each bar to prevent cross-contamination and confusion.
Do shampoo bars expire? How should I store unused bars?
Shelf life: 12-24 months (unopened), 6-12 months (opened)
How to store unused bars:
1. Keep in original packaging (or wrap in paper—never plastic)
2. Store in cool, dry place (not bathroom)
3. Check periodically for rancid smell (oils can go bad)
Signs of expiration: Rancid odor, color change, crumbly texture, reduced lather.
—
Quick Storage Checklist
✅ Use elevated dish with drainage (wood, silicone, steel)
✅ Place bar away from direct water spray
✅ Let bar dry 4-6 hours between uses
✅ Clean soap dish weekly
✅ Pat bar dry after each use (optional, but helps)
✅ For travel: pack only when bar is completely dry
✅ Store unused bars in cool, dry place (not bathroom)
❌ Never leave bar in standing water
❌ Never store wet bar in closed container
❌ Never let bars touch each other while wet
—
Conclusion
Proper storage is the single most important factor in shampoo bar lifespan. A well-stored bar lasts 2-4 months and saves you money. A poorly-stored bar dissolves in weeks and wastes product.
Best storage methods:
1. Elevated soap dish (best overall)
2. Magnetic holder (fastest drying)
3. Soap bag (best for travel + exfoliation)
Golden rule: Let your bar dry completely between uses. That’s 90% of the battle.
With proper storage, your shampoo bar will:
- Last 60-80 washes (vs. 20-30 with poor storage)
- Maintain performance and lather quality
- Stay hygienic and bacteria-free
- Deliver maximum value for your money
Treat your shampoo bar right, and it’ll treat your hair (and your wallet) right.
—
Shop Natural Answer’s long-lasting shampoo bars: naturalanswerproducts.com
Last Updated: February 24, 2026
Related reading: shampoo bar storage options compared and how long shampoo bars last.