


Last updated: September 12, 2026
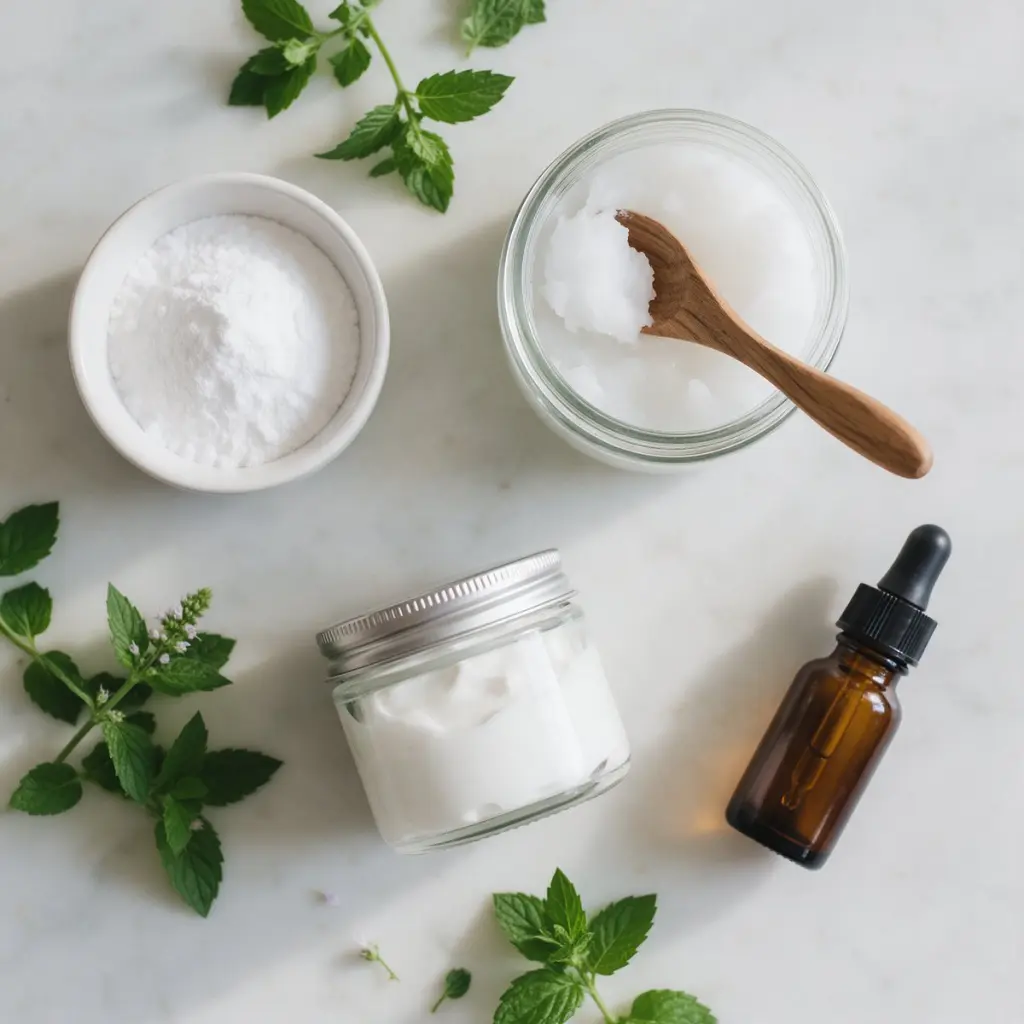
To make your own toothpaste, mix a remineralizing base (hydroxyapatite powder or baking soda) with a binder like coconut oil and flavor with peppermint oil. A basic recipe: 2 tbsp hydroxyapatite powder, 2 tbsp coconut oil, 10 drops peppermint oil. It takes about 5 minutes and keeps for a month.
What ingredients do you need for homemade toothpaste?
The core ingredients are a cleaning or remineralizing base, a binder or carrier, and a flavor agent. Common bases include baking soda, bentonite clay, and hydroxyapatite powder. Coconut oil or vegetable glycerin act as binders. Peppermint, spearmint, or wintergreen essential oil add flavor. Optional extras: xylitol (sweetener, cavity protection) and sea salt (mild abrasive).
| Ingredient | Typical amount (per 100 ml batch) | Role |
|---|---|---|
| Hydroxyapatite powder (or baking soda) | 4 tbsp (about 40 g) | Remineralizing / cleaning base |
| Coconut oil (or vegetable glycerin) | 4 tbsp (about 55 g) | Binder, carrier, antibacterial |
| Peppermint essential oil | 15–20 drops | Flavor, freshness |
| Xylitol (optional) | 1 tsp (about 4 g) | Sweetener, inhibits cavity bacteria |
| Sea salt (optional) | ¼ tsp (about 1.5 g) | Mild abrasive, mineral boost |
| Bentonite clay (optional) | 1–2 tbsp (about 12 g) | Detox, gentle polish |
How do you make toothpaste at home?
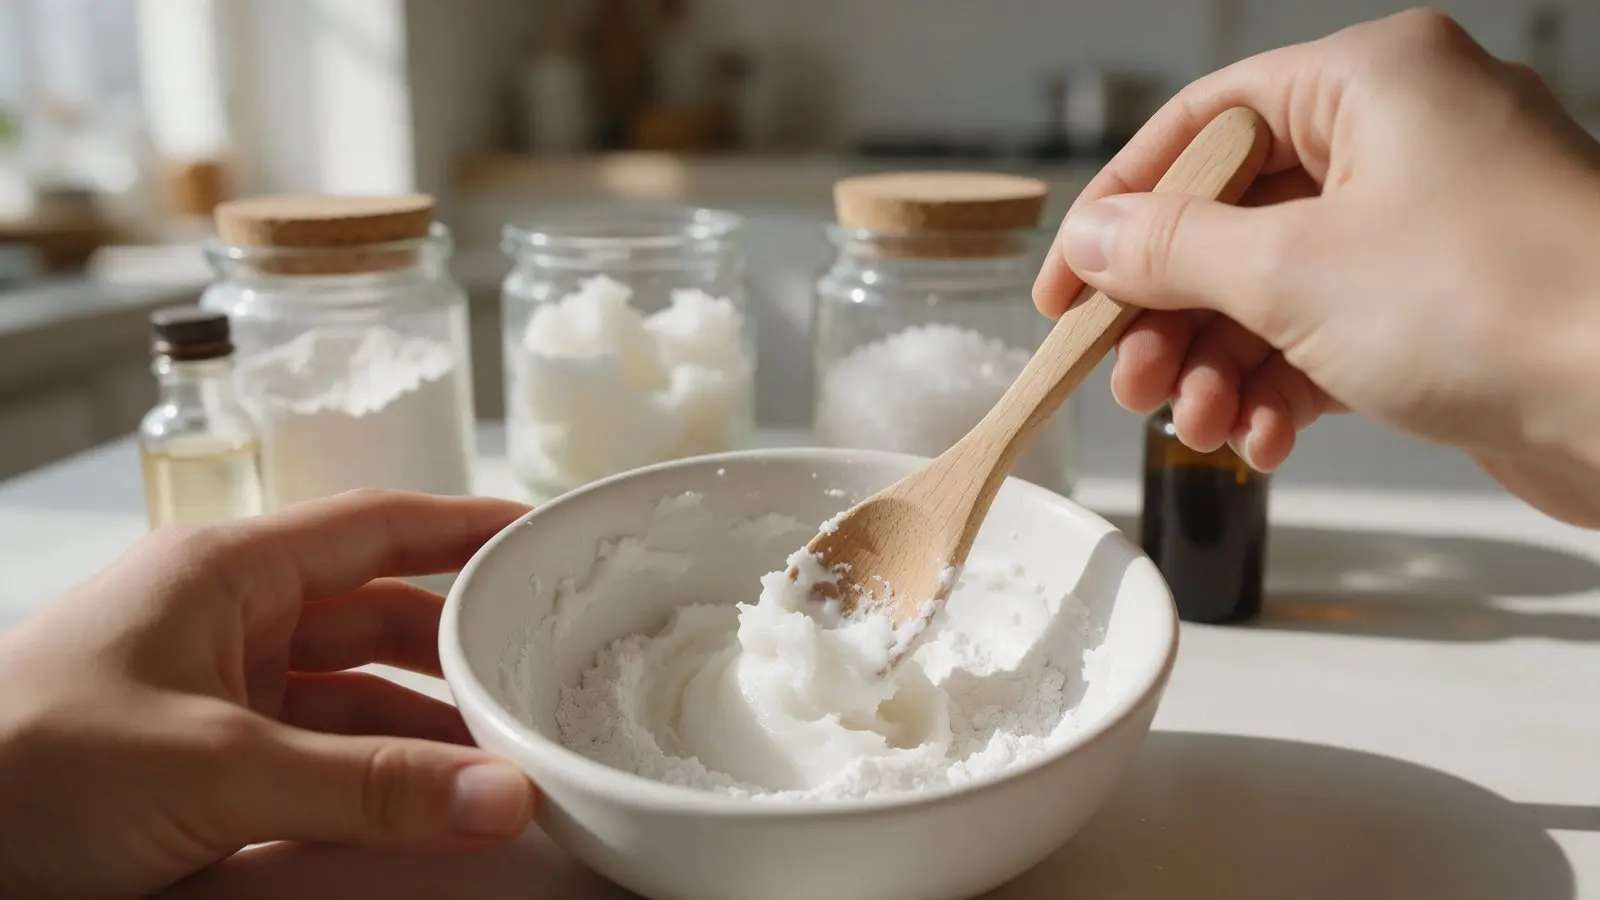
The basic method works for all five recipe families below: measure your base into a clean jar, stir in your oil or binder until you get a smooth paste, add essential oil and any extras, then mix for another 60 seconds. Total time: 5–10 minutes. Store in a small glass jar with a lid. Most homemade toothpastes keep well for 4–6 weeks at room temperature.
Recipe 1: Baking Soda Toothpaste (Classic, 5 Minutes)
The simplest starting point. Baking soda (sodium bicarbonate) neutralizes acids in your mouth and scrubs away surface stains. It doesn’t remineralize enamel, but it costs almost nothing and is easy to make.
Ingredients
- 2 tbsp baking soda (about 18 g)
- 2 tbsp coconut oil (about 27 g), melted
- 10 drops peppermint essential oil
- 1 tsp xylitol (optional, about 4 g)
Steps
- Step 1: Soften coconut oil until it is liquid or very soft (not hot).
- Step 2: Add 2 tbsp (about 18 g) baking soda and stir for 60 seconds until smooth.
- Step 3: Add 10 drops peppermint oil and 1 tsp xylitol if using. Mix for 30 seconds.
- Step 4: Transfer to a small glass jar. Allow to firm at room temperature (about 10 minutes).
Pros and cons
Pros: very cheap, effective stain removal, easy to source. Cons: mildly abrasive (RDA around 7–35 depending on particle size — stay below 250), no enamel repair, strong salty taste some people dislike. Not ideal for daily use on sensitive teeth.
Recipe 2: Coconut Oil Toothpaste (Oil-Pulling Hybrid)
Coconut oil contains lauric acid, which has antibacterial properties against Streptococcus mutans, the main cavity-causing bacterium. This recipe doubles as an oil-pulling treatment if you swish for 10–15 minutes before spitting.
Ingredients
- 3 tbsp coconut oil (about 40 g)
- 1 tbsp baking soda (about 9 g)
- 1 tbsp bentonite clay (about 8 g)
- 15 drops peppermint or spearmint essential oil
Steps
- Step 1: Measure 3 tbsp (about 40 g) coconut oil into a clean bowl.
- Step 2: Add 1 tbsp (9 g) baking soda and 1 tbsp (8 g) bentonite clay. Stir for 90 seconds until fully combined.
- Step 3: Add 15 drops peppermint oil. Mix for 30 seconds.
- Step 4: Transfer to a glass jar. Do not use metal utensils with bentonite clay — it may react.
Pros and cons
Pros: antibacterial, gentle, pleasant texture. Cons: no fluoride or hydroxyapatite — does not remineralize enamel directly. Coconut oil can solidify in cold pipes; spit into a bin, not the drain.
Recipe 3: Clay Toothpaste (Detox & Polish)
Bentonite clay is a natural silica-based mineral. It binds to heavy metals and toxins, polishes enamel gently, and has a mild alkaline pH that supports a healthy oral environment. It is one of the safest abrasive alternatives to silica gel.
Ingredients
- 2 tbsp bentonite clay (about 16 g)
- 2 tbsp vegetable glycerin (about 26 g)
- 1 tbsp distilled water
- 15 drops peppermint essential oil
- ¼ tsp fine sea salt
Steps
- Step 1: Combine 2 tbsp (16 g) bentonite clay and ¼ tsp sea salt in a glass or ceramic bowl (no metal).
- Step 2: Add 2 tbsp (26 g) vegetable glycerin and 1 tbsp distilled water. Stir for 2 minutes until smooth and gel-like.
- Step 3: Add 15 drops peppermint oil. Mix for 30 seconds.
- Step 4: Store in a glass jar. Paste thickens over 24 hours; add a few drops of distilled water if too stiff.
Pros and cons
Pros: detoxifying, good texture, no strong taste, fluoride-free. Cons: no active remineralization, clay can be messy, some people dislike the earthy flavor under the mint.
Recipe 4: DIY Toothpaste Tablets (Travel-Friendly)
Toothpaste tablets are pressed or set solid doses — one tablet per brush. They are zero-waste, TSA-friendly, and easy to make in batches of 30–50. The binding agent is usually a food-grade binder like arrowroot starch.
Ingredients (makes about 40 tablets)
- 4 tbsp baking soda (about 36 g)
- 2 tbsp arrowroot powder (about 16 g)
- 1 tbsp xylitol powder (about 12 g)
- 1 tbsp bentonite clay (about 8 g)
- ½ tsp fine sea salt
- 20 drops peppermint essential oil
- 1–2 tsp distilled water (just enough to bind)
Steps
- Step 1: Mix all dry ingredients in a glass bowl until fully combined (about 2 minutes).
- Step 2: Add 20 drops peppermint oil. Mix for 30 seconds.
- Step 3: Add distilled water one tsp at a time, mixing between each addition, until the mixture clumps when pressed (like damp sand).
- Step 4: Roll small balls (about 1.5 g each) or press into a silicone mold. Let dry at room temperature for 24–48 hours.
- Step 5: Store in a glass jar with a lid. Shelf life: up to 3 months.
Pros and cons
Pros: zero-waste, portable, good shelf life, no preservatives needed. Cons: making 40 tablets takes 30–45 minutes of active prep plus drying time, no remineralization benefit.
Recipe 5: Hydroxyapatite Powder Toothpaste (Best for Remineralization)
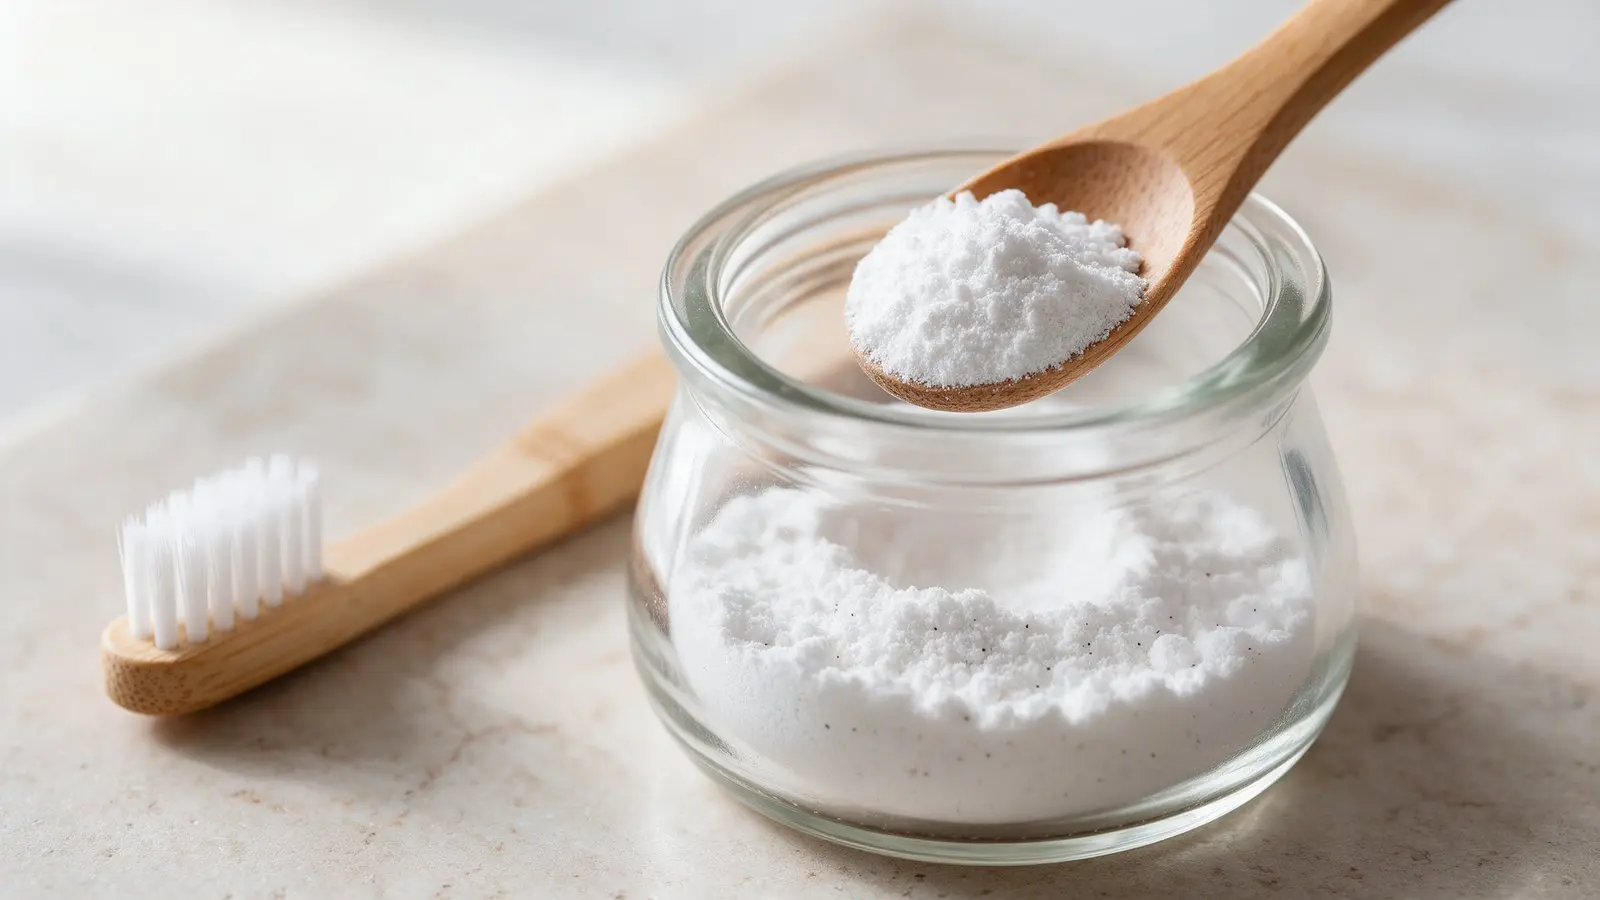
This is the strongest option for enamel repair. Hydroxyapatite (HAp) is the mineral that makes up roughly 97% of tooth enamel and about 70% of dentin by weight. When you brush with HAp powder, the mineral integrates directly into small lesions in enamel — the same biological mechanism your body uses to maintain teeth. A 2019 randomized controlled trial (Amaechi et al., BDJ Open) found that 10% hydroxyapatite toothpaste matched 500 ppm fluoride toothpaste for remineralization. A 2023 18-month RCT (Paszynska et al., Frontiers in Public Health) showed non-inferiority to 1,450 ppm fluoride — the concentration in standard adult toothpaste. The 10% figure is a common formulation benchmark for commercial pastes; the relevant point for DIY is that even a modest ratio produces measurable repair.
See the full hydroxyapatite DIY guide for an in-depth breakdown of the science, grades, and dosing. If you want to compare commercial hydroxyapatite powders, the best hydroxyapatite powder buyer guide (2026) covers the main options.
Ingredients
- 2 tbsp hydroxyapatite powder, nano 60 nm or 40 micron grade (about 20 g) — 100% pure hydroxyapatite powder from Natural Answer Products works well in either grade
- 2 tbsp coconut oil (about 27 g), softened
- 1 tsp vegetable glycerin (about 6 g)
- 1 tsp xylitol (about 4 g, optional)
- 15 drops peppermint essential oil
Steps
- Step 1: Soften 2 tbsp (about 27 g) coconut oil in a clean glass bowl until it is smooth but not liquid.
- Step 2: Stir in 2 tbsp (about 20 g) hydroxyapatite powder for 60 seconds until fully combined. The paste should be smooth and opaque white.
- Step 3: Add 1 tsp (6 g) vegetable glycerin and 1 tsp (4 g) xylitol if using. Mix for 30 seconds.
- Step 4: Add 15 drops peppermint essential oil. Stir for another 30 seconds.
- Step 5: Transfer to a clean glass jar with a lid. Do not use a shared dipping finger — use a clean spoon each time to keep the batch hygienic.
Pros and cons
Pros: active enamel remineralization backed by clinical trials, biocompatible (same mineral as your teeth), fluoride-free option, no SLS. Cons: costs more than baking soda, slightly grainy texture that most people find pleasant but occasionally not. Store away from heat — coconut oil melts above 24 °C.
Which homemade toothpaste works best?
For active enamel repair, hydroxyapatite powder is the clear leader — it is the only option in this list backed by clinical remineralization data. For budget cleaning and whitening, baking soda works well but is not ideal for daily use on sensitive or worn enamel. Clay is the gentlest abrasive. Tablets are best for travel. Coconut oil alone is the mildest antibacterial option but does not rebuild enamel.
| Recipe | Remineralizes? | Abrasiveness | Shelf life | Cost per 100 ml | Best for |
|---|---|---|---|---|---|
| Baking soda | No | Low–medium (RDA 7–35) | 4–6 weeks | ~€0.30 | Stain removal, budget |
| Coconut oil | No | Very low | 4–6 weeks | ~€0.80 | Antibacterial, sensitive teeth |
| Clay | No | Low (RDA ~35) | 4–6 weeks | ~€0.60 | Gentle polish, detox |
| Tablets | No | Low–medium | Up to 3 months | ~€0.50 | Travel, zero-waste |
| Hydroxyapatite powder | Yes (RCT evidence) | Very low (RDA ~5–10) | 4–6 weeks | ~€1.80 | Enamel repair, sensitivity |
Is homemade toothpaste safe for your enamel?
Most homemade recipes are safe when you keep abrasiveness in check. The key metric is RDA (Relative Dentin Abrasivity) — dentists recommend staying below 250, ideally below 70 for daily use. Baking soda sits around 7–35 (safe), clay around 35, and hydroxyapatite is among the gentlest at around 5–10. Avoid lemon juice, apple cider vinegar, or charcoal in your daily paste — acid erodes enamel, and activated charcoal’s RDA can reach 70–90 or higher depending on particle size.
How long does homemade toothpaste last?
Oil-based pastes (coconut oil base) stay fresh for 4–6 weeks at room temperature and up to 3 months in the fridge. Water-containing recipes (clay + water, glycerin + water) are more vulnerable to bacteria — use them within 2–4 weeks and keep the jar dry between uses. Tablets with no water last up to 3 months. Signs it has gone off: unusual smell, color change, or mold.
A note on fluoride
All five recipes above are fluoride-free by default. Whether that is the right choice depends on your dental history, diet, and water supply. For a detailed look at the evidence for and against fluoride in DIY toothpaste — including hydroxyapatite as an alternative — see our full guide to fluoride-free toothpaste at home.
About hydroxyapatite: the ingredient explained
Hydroxyapatite is a naturally occurring calcium phosphate mineral. It is the primary mineral in human tooth enamel (approximately 97% by weight) and dentin (approximately 70% by weight). Natural Answer Products sells 100% pure hydroxyapatite powder in two grades: nano (~60 nm particle size) and 40 micron, in 20–100 g sizes. Both grades are designed for DIY toothpaste and tooth powder formulations. There is no filler, no fluoride, and no added binders.
Homemade Toothpaste FAQ
Can I use hydroxyapatite powder to make toothpaste at home?
Yes. Mix 2 tbsp hydroxyapatite powder with 2 tbsp softened coconut oil and 15 drops peppermint essential oil. Stir for 60–90 seconds until smooth. The result is a functional remineralizing toothpaste ready to use immediately. It keeps for 4–6 weeks at room temperature in a sealed glass jar.
Is homemade toothpaste as effective as commercial toothpaste?
A hydroxyapatite-based homemade toothpaste can match the remineralization performance of standard fluoride toothpaste. A 2019 RCT (Amaechi et al., BDJ Open) found 10% hydroxyapatite equivalent to 500 ppm fluoride, and a 2023 18-month RCT (Paszynska et al., Frontiers in Public Health) found non-inferiority to 1,450 ppm fluoride. Baking soda and clay recipes clean and polish but do not remineralize.
What is the safest homemade toothpaste for sensitive teeth?
Hydroxyapatite powder is the gentlest and most effective option for sensitive teeth. Its RDA (abrasivity index) is approximately 5–10, among the lowest of any cleaning agent. It also actively fills microcracks in enamel that cause sensitivity. Avoid baking soda if your teeth are already sensitive — its higher abrasivity can worsen the problem with daily use.
How do I store homemade toothpaste?
Store in a small glass jar with a tight-fitting lid, away from direct sunlight and heat. Oil-based pastes (coconut oil base) stay fresh for 4–6 weeks at room temperature. If your kitchen gets above 24 °C regularly, store in the fridge — the paste firms up but is still usable. Always use a clean spoon to scoop; fingers introduce bacteria that shorten shelf life.
Can children use homemade toothpaste?
Children under 6 should not use pastes with essential oils — they may swallow some and the oils can be too strong. A safe alternative for young children: a very small amount of plain hydroxyapatite powder (nano grade) on a wet toothbrush, with no oil or flavor added. Always check with a pediatric dentist before changing a young child’s routine.
Does homemade toothpaste whiten teeth?
Baking soda and clay formulas remove surface stains mechanically, which can make teeth look brighter over a few weeks. Hydroxyapatite works differently — it fills enamel microcracks that scatter light, which can improve whiteness over time. Neither type matches the speed of peroxide-based professional whitening, but both are safe for regular use without the sensitivity risk of peroxide.